제조업체 부품 번호 3405
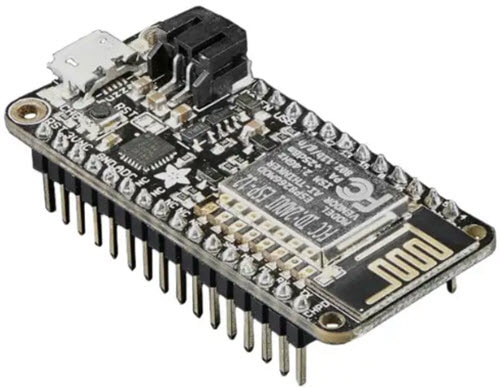
HUZZAH32 ESP32 FEATHER LOOSE HDR
Adafruit Industries LLC
In this how-to, we will learn how to connect the Huzzah32 to an ADXL343 FeatherWing and combine it with the Atmosphere IoT Studio.

Many IoT projects are concerned with remote environmental sensing such as ambient temperature, humidity, pressure, and light. However, vibration and motion can provide designers with a deeper understanding of their environment, as well as expand their product’s capability. For example, vibration data can be used in IIoT to monitor industrial machinery for potential damage or failing production lines. Vibration data can also be valuable in the wearable market, with gesture control and other motion-related activities becoming popular. Some smartphones have retractable cameras use sensors to detect freefall, and if such an event is detected, the camera will automatically retract into the phone for safety. This how-to will look at the ADXL343 FeatherWing to see how we can use it with Atmosphere’s IoT Studio.
The first step in this how-to is to get an ADXL343 FeatherWing. The main reason for using this device is that it is compatible with the Huzzah32 (i.e., they can both be connected pin-for-pin to each other). However, depending on the version of the Huzzah32 you purchase, you will need to either solder straight pins to the ADXL343 or pin sockets. In my case, my Huzzah32 arrived with pins pre-soldered, which means that I needed to solder pin sockets to the ADXL343 so that the two can be mated together. You can get these pins from DigiKey.
The first step into using the ADXL343 with the Atmosphere IoT Studio is to include it into the Element Library. Click the Add Element button below the element toolbox, and in the window that appears, search for ADXL343. The element to import is the ADXL343 FEATHER, as this handles the configuration setup for the FeatherWing.

The ADXL343 element provides a number of options and configurations for using the ADXL343 sensor. The I2C address and GPIO driver instances should be left as is, but the other options can be configured. The first two major options that stand out relate to the inbuilt features of the ADXL343 sensor; the tap detection and the freefall detection. These options allow for enabling these features as well as those features’ thresholds. For example, the tap detection can be enabled and the strength of the tap in milli-g (or MG, 1/1000 of the Earth’s g acceleration) can be changed so that an IoT device can react to a user tapping the device. The other options involve the range of the accelerometer (which dictates its sensitivity to vibration) and the interrupt pins (these will not be covered).
Let’s look at how the different axes can be accessed and then display an individual axis on a Bluetooth app. The first step will be to place an interval element that will probe the ADXL343 for axis data every second. The connector between the interval and the ADXL343 will have four triggers (one for each axis and one for the overall accelerometer reading), and the ADXL343 will be connected to four different Bluetooth elements (one for each reading type).

The app side of the project has an interval element that probes each Bluetooth element for its latest data, and these values are sent to a separate label element for displaying their value. This example, however, demonstrates the use of vectors and how they can help to reduce the complexity of a design.

The Bluetooth element called “Acc” reads the acceleration value from the ADXL343, which is in the form of a 3D vector. Since acceleration is measured in all three planes (X, Y, and Z), there are three components to the acceleration. When the acceleration is read from the ADXL343, it returns this value as a 3D vector as opposed to an absolute magnitude. This value can be directly sent to a Bluetooth element, but to preserve the vectors so they can be accessed individually, we change the data type of the Bluetooth element to 3D Vector. When reading this data back on the app, we can access each individual access by using .x, .y, and .z after the read data.

Equipped with this data, we’ve now opened up many possibilities for future projects and prototypes in the future!