Breadboard a Traffic Light That Reacts to You
2025-07-16 | By Cheyenne Chua
License: Attribution
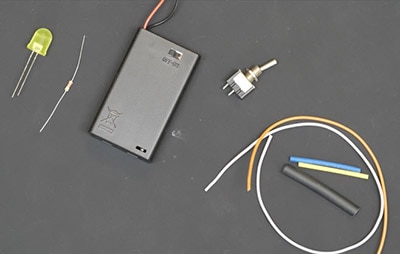
Materials Needed
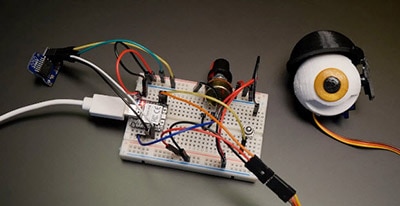
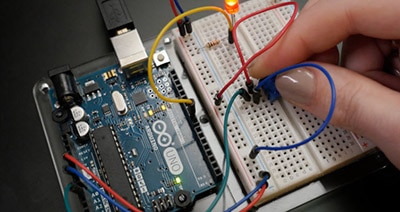
Process 1: Create the Circuit
Connect the red wire from the battery (4×AA = 6V) to the positive rail of the breadboard, and the black wire to negative rail
This provides a common power and ground reference for the entire circuit
Connect IR Sensor
VCC → ESP32 3.3V
GND → ESP32 GND
OUT → ESP32 GPIO 18
The sensor output pin sends a digital HIGH or LOW signal depending on object proximity. GPIO 18 is the chosen input pin on ESP32 for reading this signal.
Connect the LED as:
Anode (longer leg) → 220Ω resistor → ESP32 GPIO pin (GPIO 23 for Red, GPIO 22 for Yellow, GPIO 21 for Green)
Cathode (shorter leg) → ESP32 GND
LEDs need resistors to limit current. 220Ω is a good safe value to prevent burnout without being too dim
Process 2: Create the Code
Refer to the code as shown below
The IR sensor detects the start and end of a hand gesture.
When the hand is removed, the program calculates how long it was there and lights up the corresponding LED
// Pin assignments
const int irPin = 18;
const int redLED = 23;
const int yellowLED = 22;
const int greenLED = 21;
unsigned long handStartTime = 0;
bool handDetected = false;
void setup() {
    pinMode(irPin, INPUT);
    pinMode(redLED, OUTPUT);
    pinMode(yellowLED, OUTPUT);
    pinMode(greenLED, OUTPUT);
    Serial.begin(115200);
}
void loop() {
    int irValue = digitalRead(irPin);
    if (irValue == LOW) { // LOW = hand detected (typical for IR modules)
        if (!handDetected) {
            handStartTime = millis();
            handDetected = true;
            Serial.println("Hand placed on sensor.");
        }

        unsigned long duration = (millis() - handStartTime) / 1000;
        // Light logic
        if (duration >= 3000) {
            digitalWrite(redLED, LOW);
            digitalWrite(yellowLED, LOW);
            digitalWrite(greenLED, HIGH);
        } else if (duration >= 2000) {
            digitalWrite(redLED, LOW);
            digitalWrite(yellowLED, HIGH);
            digitalWrite(greenLED, LOW);
        } else if (duration >= 1000) {
            digitalWrite(redLED, HIGH);
            digitalWrite(yellowLED, LOW);
            digitalWrite(greenLED, LOW);
        } else { // Less than a second
            // Has all OFF
            digitalWrite(redLED, LOW);
            digitalWrite(yellowLED, LOW);
            digitalWrite(greenLED, LOW);
        }
    } else { // No hand detected -- reset everything
        handDetected = false;
        digitalWrite(redLED, LOW);
        digitalWrite(yellowLED, LOW);
        digitalWrite(greenLED, LOW);
    }
}
Process 3: Transferring Data
Connect ESP32 to your laptop via a USB Type-C cable.
In Arduino IDE:
Go to Tools > Board > ESP32 Dev Module
Go to Tools > Port, select the COM port (e.g., COM4)
Click Upload
Once uploaded, disconnect the cable
The board is now running on battery
Process 4: Testing
Power up your circuit with the battery holder.
Place your hand close to the IR sensor:
Hold for 10 seconds → Red LED lights up
Hold for 20 seconds → Yellow LED lights up
Hold for 30 seconds → Green LED lights up
Remove your hand to trigger the light
Troubleshooting & Suggestions
Closing thoughts
Congratulations! You've now built an interactive, sensor-based traffic light using touch detection and microcontroller logic! This project teaches fundamental electronics, sensor interfacing, and control logic. While we used the ESP32 here, feel free to experiment with an Arduino Nano or Uno if you prefer simpler setups.